Easy Homemade Plum Jam Recipe for a Delicious Spread
Table of Contents
Introduction to Plum Jam
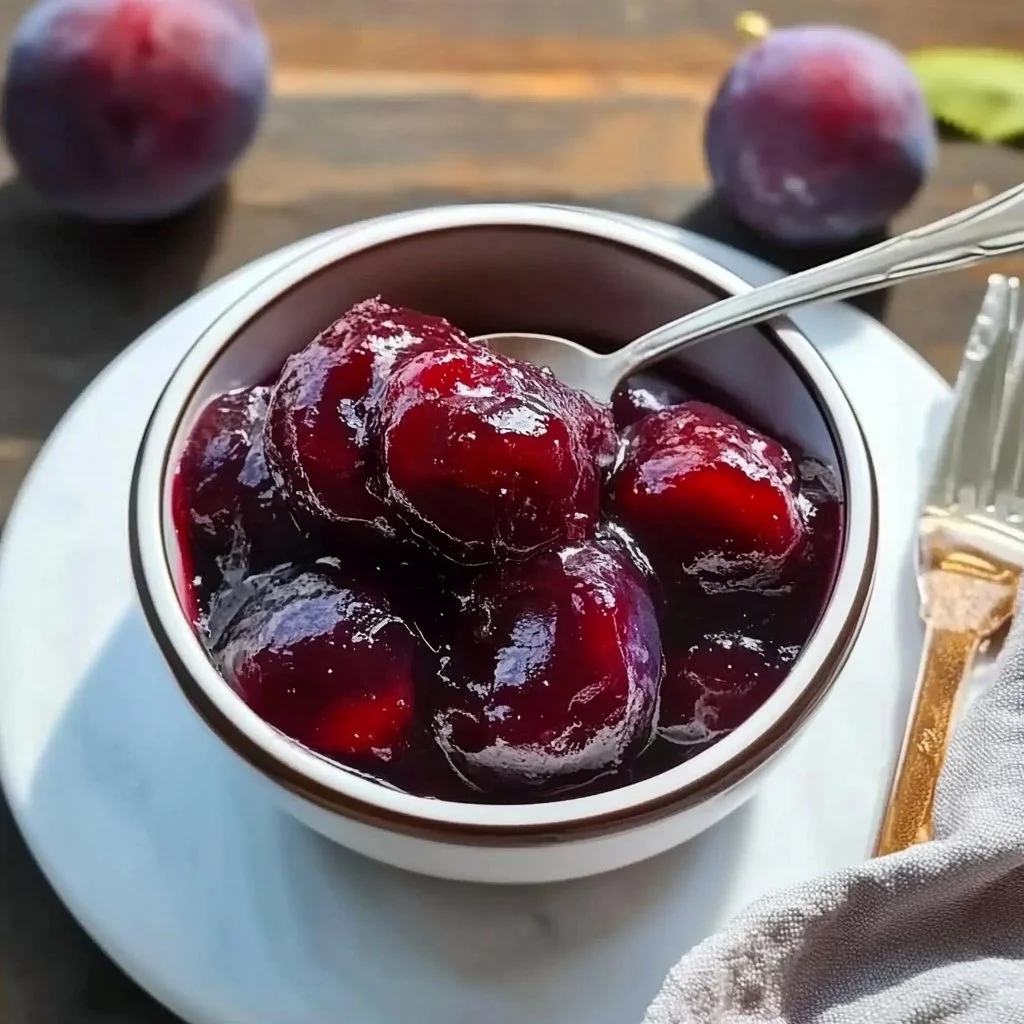
What could be more delightful than spreading a generous layer of homemade Plum Jam on a warm slice of toast? Imagine waking up to the sweet, tart aroma of ripe plums transformed into a delectable jam spread. This easy recipe brings together the vibrant flavors of ripe plums, sugar, and a splash of lemon juice to create a jam that is both delicious and incredibly satisfying. Are you ready to make your kitchen smell heavenly while creating a staple that can elevate breakfast or even dessert?
The special thing about this Plum Jam recipe is its simplicity. With just a handful of ingredients, you can whip up a jar of goodness that holds the essence of summer. It’s a treat that not only tastes amazing but also offers endless versatility. Whether you’re serving it alongside cheese, drizzling it over panna cotta, or using it to brighten a PB&J, this jam has a way of stealing the show. Plus, making your own allows you to control the sweetness and flavor profile, offering a superior alternative to store-bought varieties.
Imagine the joy of gifting homemade jams to family and friends, or even showcasing it at your next gathering. Why settle for bland when you can have a burst of flavor? Once you discover the joy of homemade Plum Jam, you’ll be hooked.
Key Benefits of Plum Jam
Why You’ll Love This Recipe
- Flavor Packed: A delightful balance of sweetness and tartness that enhances any dish.
- Simplicity: Requires only a few ingredients and minimal effort for maximum flavor.
- Versatility: Great with breakfast items, desserts, and charcuterie boards.
- Homemade Touch: A special treat made with love, perfect for gifting.
- Preserving Goodness: A fantastic way to enjoy seasonal plums year-round.
- Customizable: Easily adjust the sugar levels or add spices for unique variations.
What Makes It Stand Out
This Plum Jam recipe stands out thanks to its ability to capture the essence of fresh plums while providing a perfect consistency that’s neither too runny nor overly thick. The addition of lemon juice not only elevates the taste but also helps in balancing the sweetness of the sugar. This jam can be easily customized by adding a pinch of cinnamon or vanilla for an extra flavor layer, making it uniquely yours. It’s the kind of recipe you can pull out during family gatherings or serve at brunch, sure to impress everyone at the table.
Moreover, this jam is both a celebration of seasonal produce and a fantastic opportunity to reduce waste. Utilizing ripe plums before they spoil helps you enjoy their goodness while also promoting sustainable cooking practices, which is increasingly important in today’s food landscape.
Ingredients for Plum Jam
Complete Ingredient List with Measurements
- 2 pounds of ripe plums, pitted and chopped
- 4 cups of granulated sugar
- 1/4 cup of lemon juice
- 1 pouch of fruit pectin (optional)
Substitutes and Alternatives
If you have dietary preferences or restrictions, this recipe allows for several substitutions. Honey can be used instead of granulated sugar for a less processed sweetener, but be mindful that this may alter the consistency slightly. For those who prefer a less acidic taste, consider reducing the amount of lemon juice or using a neutral, naturally sweet fruit like apples or pears to combine with the plums.
For a more fruity twist, feel free to mix in other fruits like peaches or berries, enhancing the flavor profile of your Plum Jam while maintaining a balance of sweetness. This adaptability makes it suitable for varied taste preferences and dietary needs.
How to Make Plum Jam – Step-by-Step Directions
Step 1 – Prepare Ingredients
Start by washing the plums thoroughly. Then, pit and chop them into smaller pieces. The smaller the chunks, the better they’ll break down while cooking. Measure out your granulated sugar and lemon juice, keeping them ready for the cooking process.
Step 2 – Cook the Base
In a large pot, combine the chopped plums, sugar, and lemon juice. Stir everything together until the plums are well coated in sugar. Let this mixture sit for about 30 minutes. This step is crucial as it allows the plums to release their juices, facilitating a richer base for the jam.
Step 3 – Bring to a Boil
Place the pot over medium heat and bring the mixture to a boil. Stir frequently to prevent sticking or scorching on the bottom of the pot. You’ll notice it bubbling nicely as the sugar dissolves completely, blending beautifully with the plums.
Step 4 – Add Pectin (Optional)
If you choose to use fruit pectin for a thicker jam, now is the time to add it according to the package instructions. This addition can help achieve a firmer texture more quickly, especially if you prefer a spreadable jam.
Step 5 – Boil to Desired Consistency
Continue boiling the mixture, stirring constantly, until it reaches the desired thickness. This usually takes around 20-30 minutes. A trick is to do the spoon test: Place a spoonful on a cold plate and let it sit for a minute. Run your finger through it—if it holds its shape, your jam is ready!
Step 6 – Let Cool Slightly
Once you’re pleased with the consistency, remove the pot from heat and allow it to cool slightly. This helps avoid burns when transferring to jars and makes the pouring process smoother.
Step 7 – Jar the Jam
Pour the hot jam into sterilized jars while leaving some headspace. This is crucial for proper sealing. Make sure to wipe the rims of the jars to ensure a good seal. It’s recommended to use jars with tight-fitting lids.
Step 8 – Seal and Cool
Seal the jars tightly and let them cool to room temperature before storing them in the refrigerator. If you plan to use them for long-term storage, consider processing them in a water bath canner for about 10 minutes.
Serving Suggestions for Plum Jam
Best Occasions to Serve This Dish
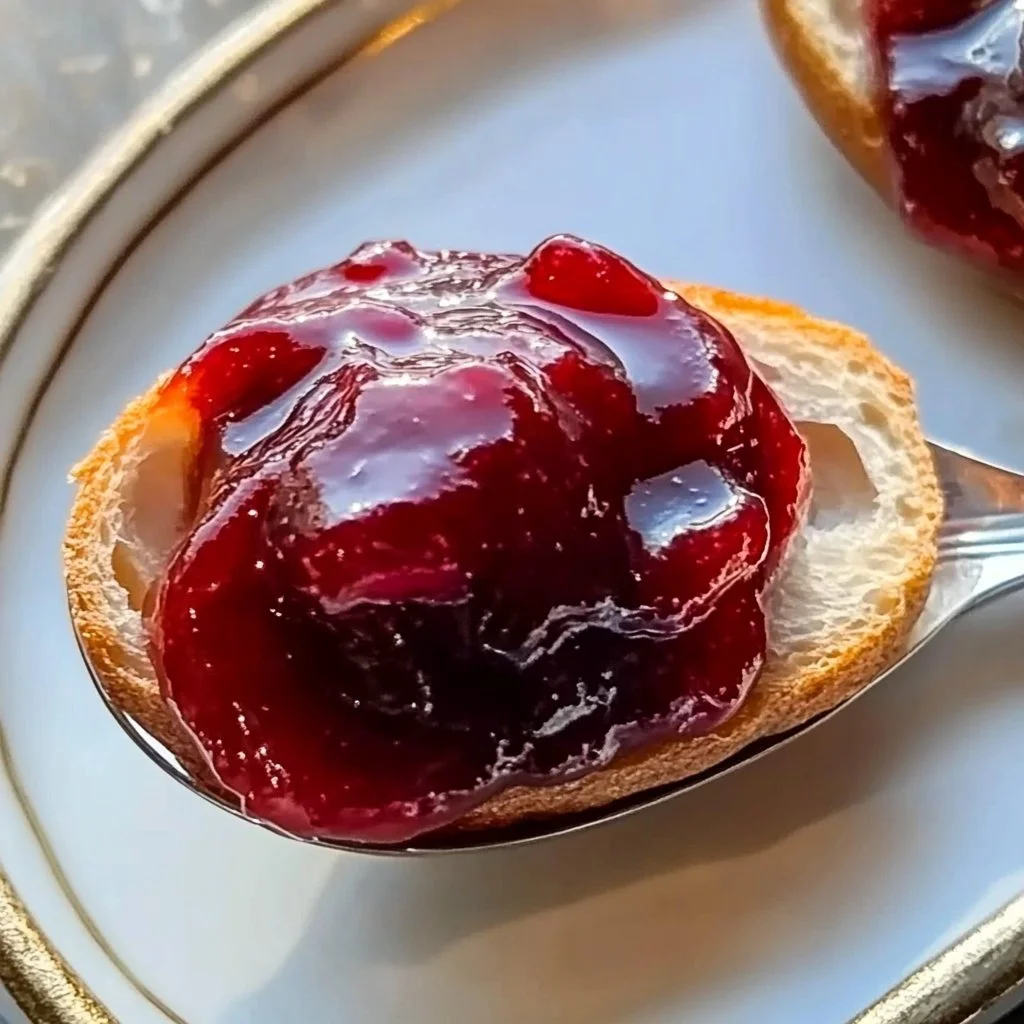
Homemade Plum Jam is perfect for breakfast spreads on toast or pancakes, making it a delightful addition to your morning routine. It’s equally wonderful for elevating a simple cheese platter, adding a sweet and tangy contrast to creamy cheeses. For dessert, consider serving a dollop on vanilla ice cream or mixing it into yogurt for an enticing treat.
What to Serve With It
Pair your Plum Jam with freshly baked scones, croissants, or even savory dishes like roast pork. Add it to cheesecakes or layer it into trifle desserts for spectacular presentation and flavor. You can also use it in glazes for meats, enhancing your culinary creativity!
How to Store Plum Jam Properly
Best Storage Practices
Properly stored, homemade Plum Jam can last in the refrigerator for up to a month. If you plan to keep it longer, make sure to use sterilized jars and process them correctly to ensure a longer shelf life at room temperature. Always label your jars with the date for reference.
Reheating and Freezing Tips
For those who wish to freeze Plum Jam for even longer preservation, consider freezing it in smaller containers or freezer-friendly bags. When ready to use, simply thaw in the refrigerator overnight or place it in a warm water bath for a quicker option. Avoid refreezing thawed jam to maintain its quality.
Tips & Tricks for Plum Jam
Mistakes to Avoid
One common mistake is adding too much sugar right from the start. Always taste as you go to get the right balance. Another pitfall is not properly prepping the jars; ensure they are sterile to prevent spoilage. Avoid boiling the mixture too long, as this can lead to overly thick jam—keep an eye on it!
Extra Tips for Better Results
For enhanced flavor, consider adding spices like cinnamon or allspice during cooking. You can also substitute half of the sugar with honey for a unique twist. If you enjoy a bit of texture, leave some plum pieces unblended for a chunkier jam.
Recipe Variations of Plum Jam
Creative Twists
Consider adding ginger or cardamom for an aromatic twist to your Plum Jam. Alternatively, you can create a mixed jam by blending in other fruits such as strawberries, peaches, or blackberries. Each addition can create a novel flavor profile worthy of experimentation!
Dietary Adjustments
For those following a vegan diet, ensure the pectin used is plant-based. Opt for organic sugar and choose sweeteners like agave to keep it vegan-friendly. Gluten-free individuals can enjoy this jam guilt-free as it contains no wheat-based ingredients.
Conclusion about Plum Jam
Incorporating Plum Jam into your culinary repertoire is more than just a delicious choice; it’s an exploration of flavor and creativity. This recipe offers you the chance to engage with the joy of cooking while highlighting seasonal produce. With its simple ingredients and straightforward steps, making homemade jam becomes a delightful activity that fills your home with warm, sweet aromas. You can relish this beautiful blend of flavors while preserving the essence of summer plums for months to come. So gather your ingredients, roll up your sleeves, and enjoy the process of creating something truly exceptional—your taste buds will thank you!
FAQs about Plum Jam
How long will Plum Jam last?
Homemade Plum Jam can last in the refrigerator for about a month, or you can process it for longer shelf life in a cool, dark area.
Can I make this recipe without pectin?
Yes, you can make Plum Jam without pectin. The natural pectin in the plums will help thicken the jam, though it may take longer to reach the desired consistency.
Can I freeze Plum Jam?
Absolutely! You can freeze Plum Jam in jars or freezer bags. Just make sure to leave some space for expansion when freezing.
What is the best way to reheat my jam?
Reheat your jam by placing it in a saucepan on low heat until warmed through. You can also gently microwave it if you’re in a hurry.
Can I use other fruits to make this jam?
Yes, mixing plums with other fruits like peach or blackberry can create exciting new flavors while maintaining the main theme of a fruit jam.
Is it necessary to sterilize jars?
Sterilizing jars is crucial for long-term storage to prevent spoilage. Clean them thoroughly and process in boiling water before filling with jam.
How can I adjust the sweetness in the recipe?
You can reduce the amount of sugar based on your preference, but keep in mind that sugar does contribute to the overall preservation of the jam.
Can I use this jam in baking?
Definitely! Use Plum Jam as a filling for pastries, cakes, or even as a swirl in muffins for an extra burst of flavor.
What if my jam is too thick?
If your jam becomes too thick, you can gently heat it with a splash of water to reach a more spreadable consistency.
How do I know when the jam is done?
You can perform a plate test: place a spoonful on a cold plate and see if it holds its shape. If it does, it’s ready to jar!
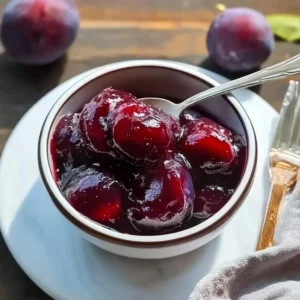
Plum Jam
Ingredients
Main Ingredients
- 2 pounds ripe plums, pitted and chopped Choose ripe plums for the best flavor.
- 4 cups granulated sugar Adjust based on sweetness preference.
- ¼ cup lemon juice Freshly squeezed is preferred.
- 1 pouch fruit pectin Optional for thicker jam.
Instructions
Preparation
- Wash the plums thoroughly, then pit and chop them into smaller pieces.
- Measure out sugar and lemon juice and have them ready.
Cooking
- In a large pot, combine chopped plums, sugar, and lemon juice. Stir until well coated.
- Let the mixture sit for about 30 minutes to allow plums to release their juices.
- Place the pot over medium heat and bring to a boil, stirring frequently.
- If using, add fruit pectin according to package instructions.
- Boil the mixture, stirring constantly, for 20-30 minutes until it reaches the desired thickness.
- Remove from heat and allow to cool slightly.
- Pour the hot jam into sterilized jars, leaving some headspace, and wipe the rims for a good seal.
- Seal jars tightly and let cool to room temperature before storing.
- For long-term storage, process in a water bath canner for about 10 minutes.